THE QUICK ANSWER
Check three things before preparing another body: the station used for preparation, the room’s displayed allowance and the activation prompt. The player discussion describes a separate resurrection table and central device, which explains why restoring the middle object can leave the preparation task unfinished. A morgue corpse counter answers a different question.
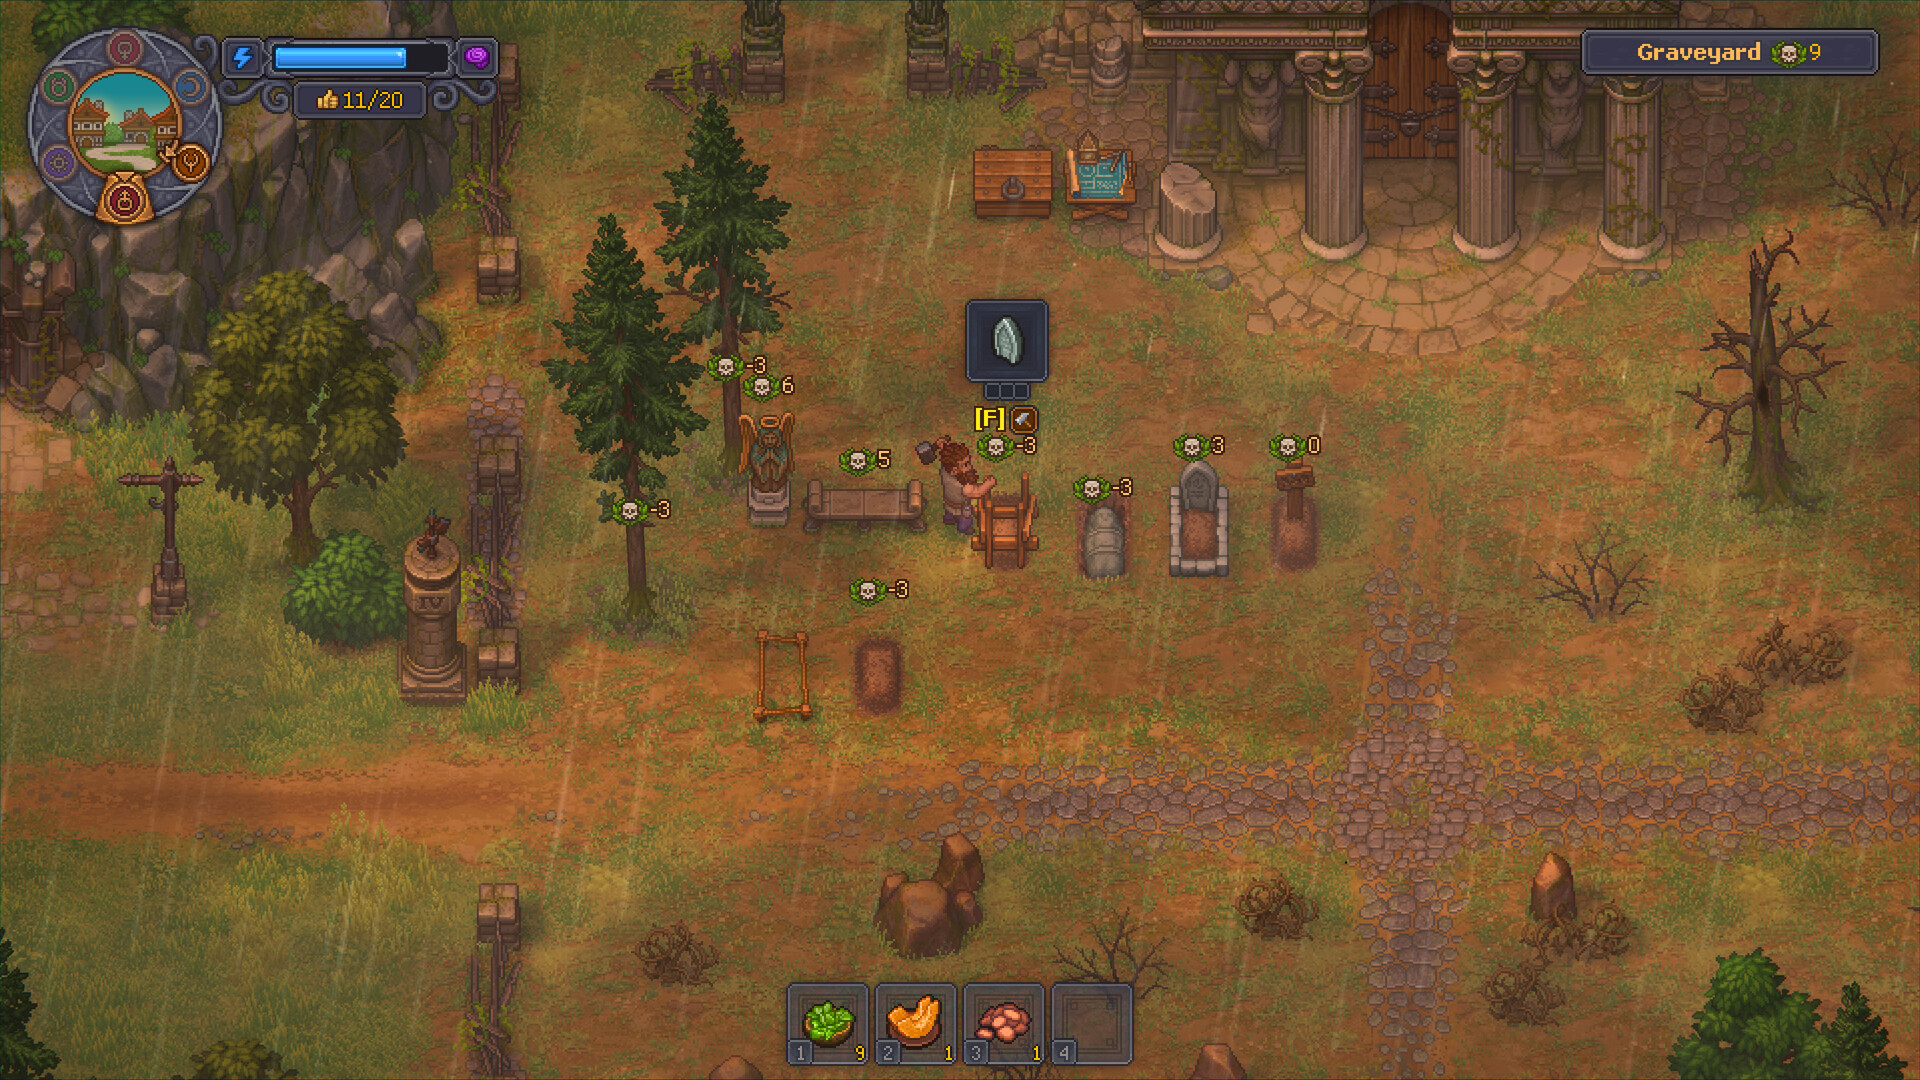
What you need
- The resurrection area and appropriate technology unlocked in your save.
- A body meeting the preparation prompt.
- The required collar, reanimation materials and current capacity.
Follow the route
- 01Correct table
- 02Prepared body
- 03Room capacity
- 04Activation prompt
Identify the right table
The cited players report needing a separately built resurrection table, not simply the central restored device. Inspect the blueprint menu and the object’s name before preparing a batch. A morgue preparation station and a resurrection station are different checkpoints.
Read the body requirements
Players describe keeping the required organs, placing the body on the resurrection table, adding a collar and reanimation liquid, then preparing it. Use the live prompt to confirm what is still missing instead of assuming a body’s appearance proves readiness.
Inspect the correct capacity counter
Keep the morgue’s corpse count separate from the resurrection room’s zombie count. The discussion points to the PR system for capacity; record the value displayed in your room. Our recommendation is to verify room allowance before preparing several bodies at once.
Activate under available conditions
Players describe the central device being used on Envy day after preparation. Check the current activation prompt and any active conditions in your save. If preparation appears complete but activation is blocked, capture that exact state rather than dismantling every table.
Plan the body batch around the room display
Our recommendation is to inspect population allowance before consuming materials for several prepared bodies. List the bodies already waiting on resurrection tables separately from the zombies already counted by the room. This prevents a physical table slot from being mistaken for population coverage. When preparation is refused, record the station name and its missing requirement; when activation is refused, record the central prompt and current game day. These observations narrow the problem without dismantling working equipment. If the room and morgue show different values, keep both labels in the report: the cited players explain that these displays describe different kinds of occupants.
Common blockers
| What you see | Check | Next action |
|---|---|---|
| Asked to prepare a corpse | Object name and body condition | Check the separate resurrection table and its preparation prompt. |
| Corpse and zombie counters differ | Room and counter label | Record each counter separately before diagnosing capacity. |
| Activation still unavailable | Day, preparation and displayed allowance | Capture the exact prompt after checking all three. |
Workbench questions
Is the middle device the preparation table?
The player discussion distinguishes separate resurrection tables from the central activation device.
Can I infer my zombie cap from the morgue count?
No. Inspect the resurrection room’s own display and current capacity conditions.
Keep the work moving
Official game references
- Graveyard Keeper 2 — official developer announcements ↗Official patch notes and developer updates
- Graveyard Keeper 2 — official game overview ↗Official game page
Version & evidence
Reviewed against PC 1.008 patch contextThe preparation route is a release-build community report. Room counters, requirements and available activation conditions should be read from the current interface. This guide is not a tested resurrection-cap formula.
Source-reviewed guide; player routes are identified below. Not an in-game test.